

Neoclassical architecture and interior design have always been favored by the upper class for their luxurious, elegant, and timeless beauty. The core characteristic of neoclassical villas is perfection down to the smallest detail, where the lines, patterns, moldings, and ceiling medallions must coordinate to create a harmonious and balanced whole. In particular, the molding system acts as borders that accentuate the architectural form, subtly dividing the walls and ceilings.
The importance of handling molding joints in Neoclassical spaces.
Because of the stringent requirements for quality, Experience in handling the joints of moldings in neoclassical villas. It has become a benchmark for evaluating the skill of the construction team. Even a space with billions of dong invested in interior design will have its entire aesthetic value ruined if the moldings show cracks, gaps in the joints, or messy glue stains. The human eye tends to focus on straight lines and angles; therefore, even a small flaw in the joint becomes extremely unsightly.
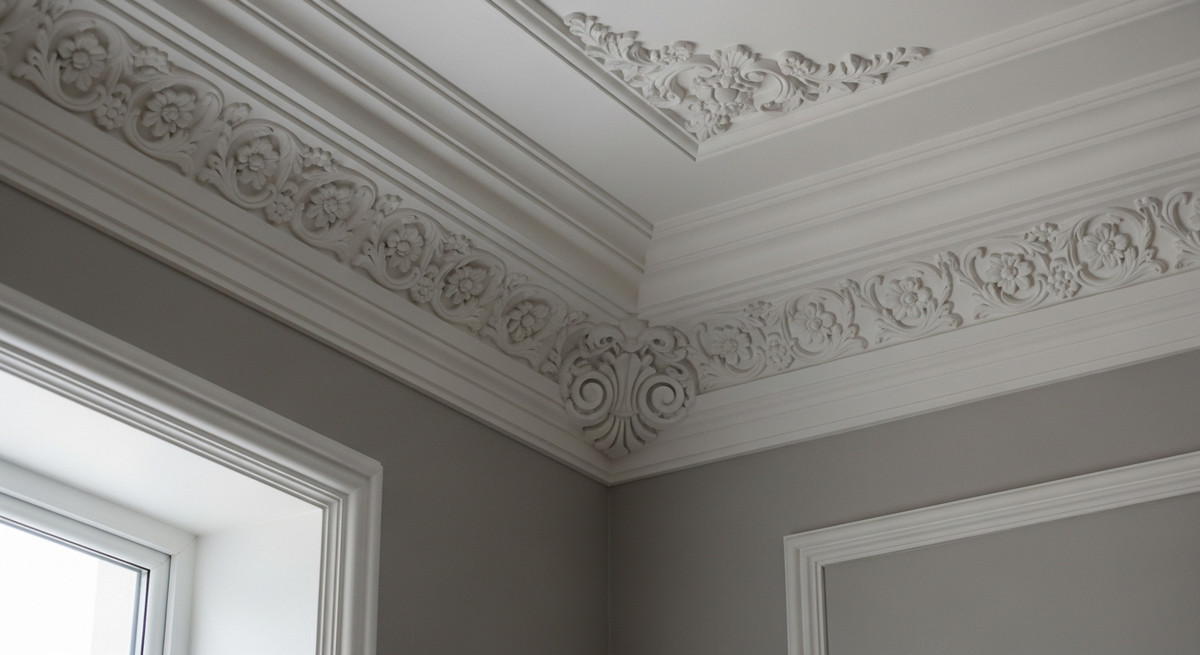
The consequences of poorly finished joints extend beyond aesthetics. Under the influence of Vietnam's fluctuating weather, temperature, and humidity, exposed joints will quickly crack and break more severely, creating conditions for mold and dirt to accumulate. This reduces the lifespan of materials, increases maintenance and repair costs, and significantly diminishes the prestige and value of the villa.
Common causes of cracks and gaps in molding joints
To achieve a perfect construction solution, we first need to understand the root of the problem. Cracks or gaps in PU molding joints often stem from fundamental mistakes during construction and the physical characteristics of the structure. Below are the most common causes that contractors and homeowners need to pay attention to and monitor:
- Inaccurate corner cutting: This is a basic but very common mistake. If the installer doesn't use a specialized cutting tool or takes inaccurate measurements, the cut angle will not meet the standard 45-degree angle. When joining two molding strips together at the corners of the wall, they will create a large gap, forcing the installer to fill it with a lot of putty, leading to a very high risk of cracking later.
- Using the wrong type of glue or not applying enough glue: Adhesive plays a crucial role in the physical bond between the molding and the wall, as well as between two molding strips. Using poor-quality adhesive, adhesive lacking elasticity, or applying too little adhesive across the cross-section will weaken the joint. When subjected to external force, the joint will come apart.
- Material shrinkage: Materials such as PU plastic, wood, and plasterboard all have a certain coefficient of thermal expansion. Sudden changes in temperature and humidity cause the material to shrink. If the joint is not treated with a specialized elastic sealant, cracking is inevitable.
- Uneven walls or vibrating structures: Uneven, bumpy plaster surfaces prevent the moldings from adhering properly. Additionally, buildings near busy roads, subjected to vibrations from traffic or natural foundation settlement, can also tear apart the already fragile joints of the moldings.
Standard procedure: How to handle 'invisible' molding joints.
To achieve the stringent standards of neoclassical villas, construction cannot rely on intuition but must adhere to a strict technical process. Below is a detailed guide on how to handle molding joints to achieve absolute aesthetic appeal, leaving no imperfections.
Step 1: Precise 45-degree angle cutting technique
Every beautiful joint begins with a perfect cut. Properly cutting the corners of moldings requires the use of specialized aluminum or wood cutting machines with a rotating table for precise angle adjustment. The cutting blade must be a sharp, multi-toothed alloy blade (usually 80-120 teeth) to ensure a smooth, flat cut without chipping or fraying.
Before cutting, carefully measure the length of the wall section. Place the molding strip on the cutting table, aligning it correctly with the wall and ceiling, and secure it firmly with clamps to prevent it from shifting when the saw blade is lowered. Cut cleanly at a 45-degree angle (or adjust the angle according to the actual deviation of the wall corner). After cutting, test fit two molding strips together at the installation location to check for a tight fit. If there is even the smallest gap, use fine sandpaper or a grinder to smooth the cut surfaces until they fit together perfectly.
Step 2: Use adhesive to secure the molding.
After achieving perfectly cut corners, the next step is to join them together. The sealant used to seal the molding joints is crucial for durability. First, apply a layer of specialized adhesive (such as Titebond or silicone sealant) along the back of the molding – the part that will contact the wall and ceiling.
Particularly important: At the cross-section (the joint between two molding strips), it is mandatory to apply a layer of specialized adhesive (usually two-component adhesive or elastic PU adhesive). This adhesive not only bonds but also acts as an elastic cushion, absorbing force when the material shrinks. Press the two molding strips tightly together so that any excess adhesive slightly overflows from the joint. Use a nail gun (using pins or concrete nails depending on the wall material) to nail the molding diagonally to the wall, locking the joint securely to prevent movement while waiting for the adhesive to dry.
Step 3: Joint filler and sanding techniques
This is the most meticulous and patient step, determining whether the joint will be visible or not. After the adhesive has completely dried (usually 2-4 hours), use a utility knife to carefully remove any excess adhesive that has oozed out from the surface of the molding.
Next, use specialized putty mixed with water in the correct ratio to fill the nail holes and tiny gaps at the joints. Use a small trowel or a soft plastic piece to firmly press the putty into the gap, shaping it to match the grooves and patterns of the molding. Wait for the first layer of putty to dry, then apply a second layer to compensate for any shrinkage.
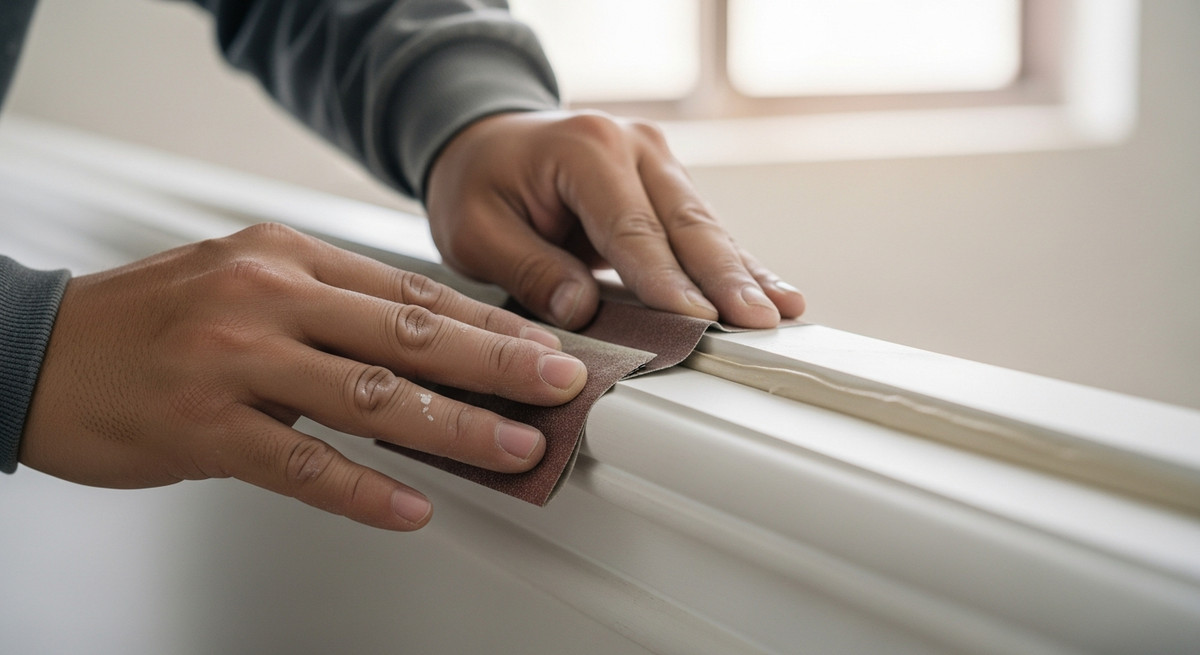
Once the putty has dried and hardened, proceed with sanding. Use fine-grit sandpaper (from P320 to P400), folded into small pieces, to fit into each groove of the pattern. Sand gently and evenly until the joint surface is smooth and feels smooth to the touch, without any roughness between the two molding pieces. Absolutely do not sand too hard, as this will damage the sharpness of the neoclassical pattern.
Step 4: Apply finishing paint to cover imperfections.
The final step in making the joint 'invisible' is the finishing coat. Before painting, use a soft brush and a damp cloth to remove all dust left behind from the sanding process. The molding surface must be completely clean and dry.
Apply a coat of alkali-resistant primer by spraying or brushing to improve adhesion and prevent yellowing. After the primer dries, apply two coats of finish paint (water-based or PU paint) in the same color as the molding. For neoclassical villas, contractors often use a spray gun instead of a brush to ensure a thin, smooth, even coat of paint without brush strokes, completely covering any traces of putty and joints.
Note the proper joint treatment for each type of molding material (PU, PS, Gypsum).
Each type of molding material has different physical and chemical properties, requiring skilled craftsmen. interior design and construction experience Adjust the joint handling method flexibly to achieve the best possible results.
- PU (Polyurethane) moldings: This is the most popular type of molding in neoclassical villas due to its lightweight nature, sharp patterns, and ease of bending to conform to arched designs. However, PU molding is quite soft and prone to shrinkage with temperature changes. The correct way to join PU molding is to use specialized PU joint adhesive (two-component joint adhesive) at the cut edges. When dry, this adhesive forms a homogeneous block with the PU resin, providing good elasticity and effectively preventing cracking. The process of applying filler and sanding PU molding also requires a gentle touch to avoid scratching the soft resin surface.
- PS (Polystyrene) moldings: PS moldings are characterized by their hardness, good impact resistance, and a surface that is usually pre-coated with a finish film (wood grain, stone grain, gold plating) from the factory. Because the surface is already finished, applying filler and repainting the joints is very limited as it will damage the original film. Therefore, the requirement for installing PS moldings is that the cuts must be extremely tight (100%). Installers will use invisible glue (transparent glue) to bond the joints, then use a matching colored crayon or paint to meticulously touch up the cut lines to conceal imperfections.
- Gypsum moldings: Gypsum moldings offer a traditional, eco-friendly aesthetic, but their biggest drawback is their weight and susceptibility to cracking due to moisture absorption. To address gypsum molding joints, installers don't use resin glue but instead use gypsum powder mixed with water as a binder. Especially at long, straight joints, it's mandatory to apply a layer of fiberglass mesh before applying the putty. This mesh acts as a framework, preventing the joint from tearing when the ceiling or wall experiences slight vibrations.
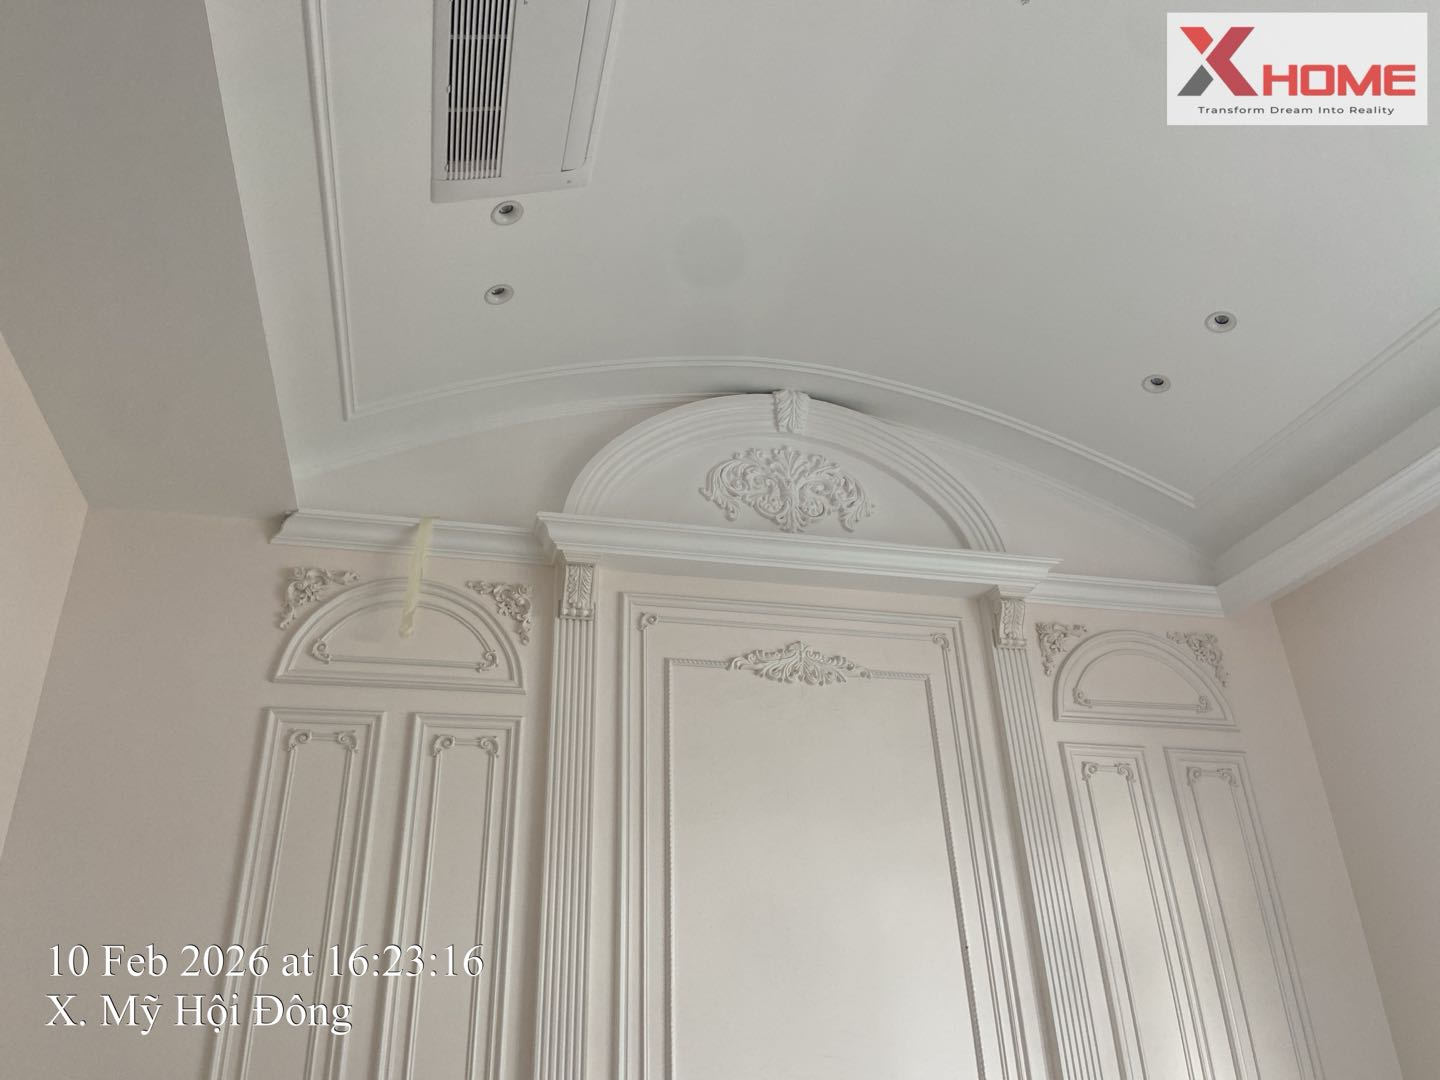
Tips for fixing cracked molding joints after use.
No matter how meticulously constructed, under the harsh effects of time and the natural settlement and cracking of the structure, some molding joints may still develop hairline cracks. For homeowners or maintenance teams, mastering the repair techniques will help restore the original beauty of the villa without having to dismantle the entire structure.
The process for repairing cracked PU moldings involves the following steps:
- Cleaning cracks: Using a utility knife or a small scraper, gently cut along the crack to widen the V-shaped groove. Use a brush to sweep away dirt, grime, and any peeling old paint inside the crack.
- Sealant injection for crack repair: Do not use regular putty to fill cracks because it lacks elasticity, and the cracks will quickly reopen. Instead, use a sealant gun to inject a sufficient amount of acrylic silicone sealant or a specialized elastic sealant deep into the crack. Use your finger or a small trowel to smooth the sealant evenly with the molding surface.
- Apply filler and touch up the paint: Wait for the elastic sealant to dry completely, then apply a thin layer of putty to create a smooth finish. Lightly sand the area with P400 sandpaper. Finally, use a small brush to touch up the primer and topcoat to match the surrounding area. Touch-up painting requires skill, blending the paint edges evenly to avoid creating a color boundary between the repair and the old paint.
Frequently Asked Questions (FAQ) about handling molding joints
What type of adhesive is best for joining PU moldings?
To join PU moldings, it's best to use a specialized two-component joint adhesive for PU plastic or Titebond adhesive combined with neutral silicone sealant. These adhesives have extremely high bonding strength and maintain a certain degree of elasticity, allowing the joint to withstand the expansion and contraction of the material without cracking.
Why do the moldings fit together perfectly at first, but crack after a few months?
This phenomenon is usually due to three main reasons: Firstly, the contractor only applied sealant to the back side and forgot to apply it to the cross-section of the joint. Secondly, seasonal changes in temperature and humidity cause the material to shrink. Thirdly, the newly built structure experiences slight settlement or vibration, creating tearing forces that crack the brittle putty layer at the joint.
Can I fix the molding joints myself at home, or do I need a professional?
If it's just fixing small hairline cracks after use, homeowners can easily buy elastic sealant and touch-up paint themselves. However, for new installations or repairs of large, intricately patterned moldings in neoclassical villas, you absolutely must hire a team of professional craftsmen. The techniques of cutting corners, aligning, and sanding require high skill and specialized equipment to ensure absolute aesthetic quality.
Summary, Experience in handling the joints of moldings in neoclassical villas. It's not just about choosing the right materials, but also depends heavily on the meticulousness and strict adherence to technical procedures by the craftsman. A seamless, sharp, and flawless molding system is the clearest evidence of the project's quality and the homeowner's refined aesthetic taste. If you are in the process of completing your home, choose reputable companies. villa interior construction Reputable and truly capable of earning trust, ensuring that living spaces retain their magnificent beauty and endure over time.
- Email: info@xhomesg.com.vn
- Floor 12.B1 – REE Tower, 9 Doan Van Bo Street – Xom Chieu Ward – Ho Chi Minh City
- Hotline: 0899199786


