

The process of completing a luxury villa cannot be without a final quality check and assessment before moving in. Understanding this is crucial. Standards for acceptance testing of villa interior construction This is key to helping investors protect their rights and ensure a living space that achieves perfection in both aesthetics and functionality. Unlike apartments or townhouses, villas are large-scale, use expensive materials, and integrate many complex smart systems. Therefore, a well-structured acceptance process with a detailed checklist will help you easily detect potential construction errors, thereby requesting the contractor to rectify them promptly, providing absolute peace of mind when receiving your dream home.
Why are the acceptance standards for villa interior construction more stringent?
Acceptance villa interior construction It's not simply a matter of counting the number of items or glancing at the surface. For high-end real estate, this process requires a much stricter and more in-depth system of standards compared to ordinary residential projects. This difference stems from the unique characteristics of luxurious living spaces.
firstVilla construction projects are typically very large, encompassing multiple floors, numerous functional rooms, and expansive atrium areas. This results in a massive workload, requiring multiple subcontractors (carpenters, masons, electricians, plumbers, stonemasons, glassmakers) to work in overlapping roles. Without clear acceptance standards, this overlap can easily lead to errors, impacting both the progress and overall quality.
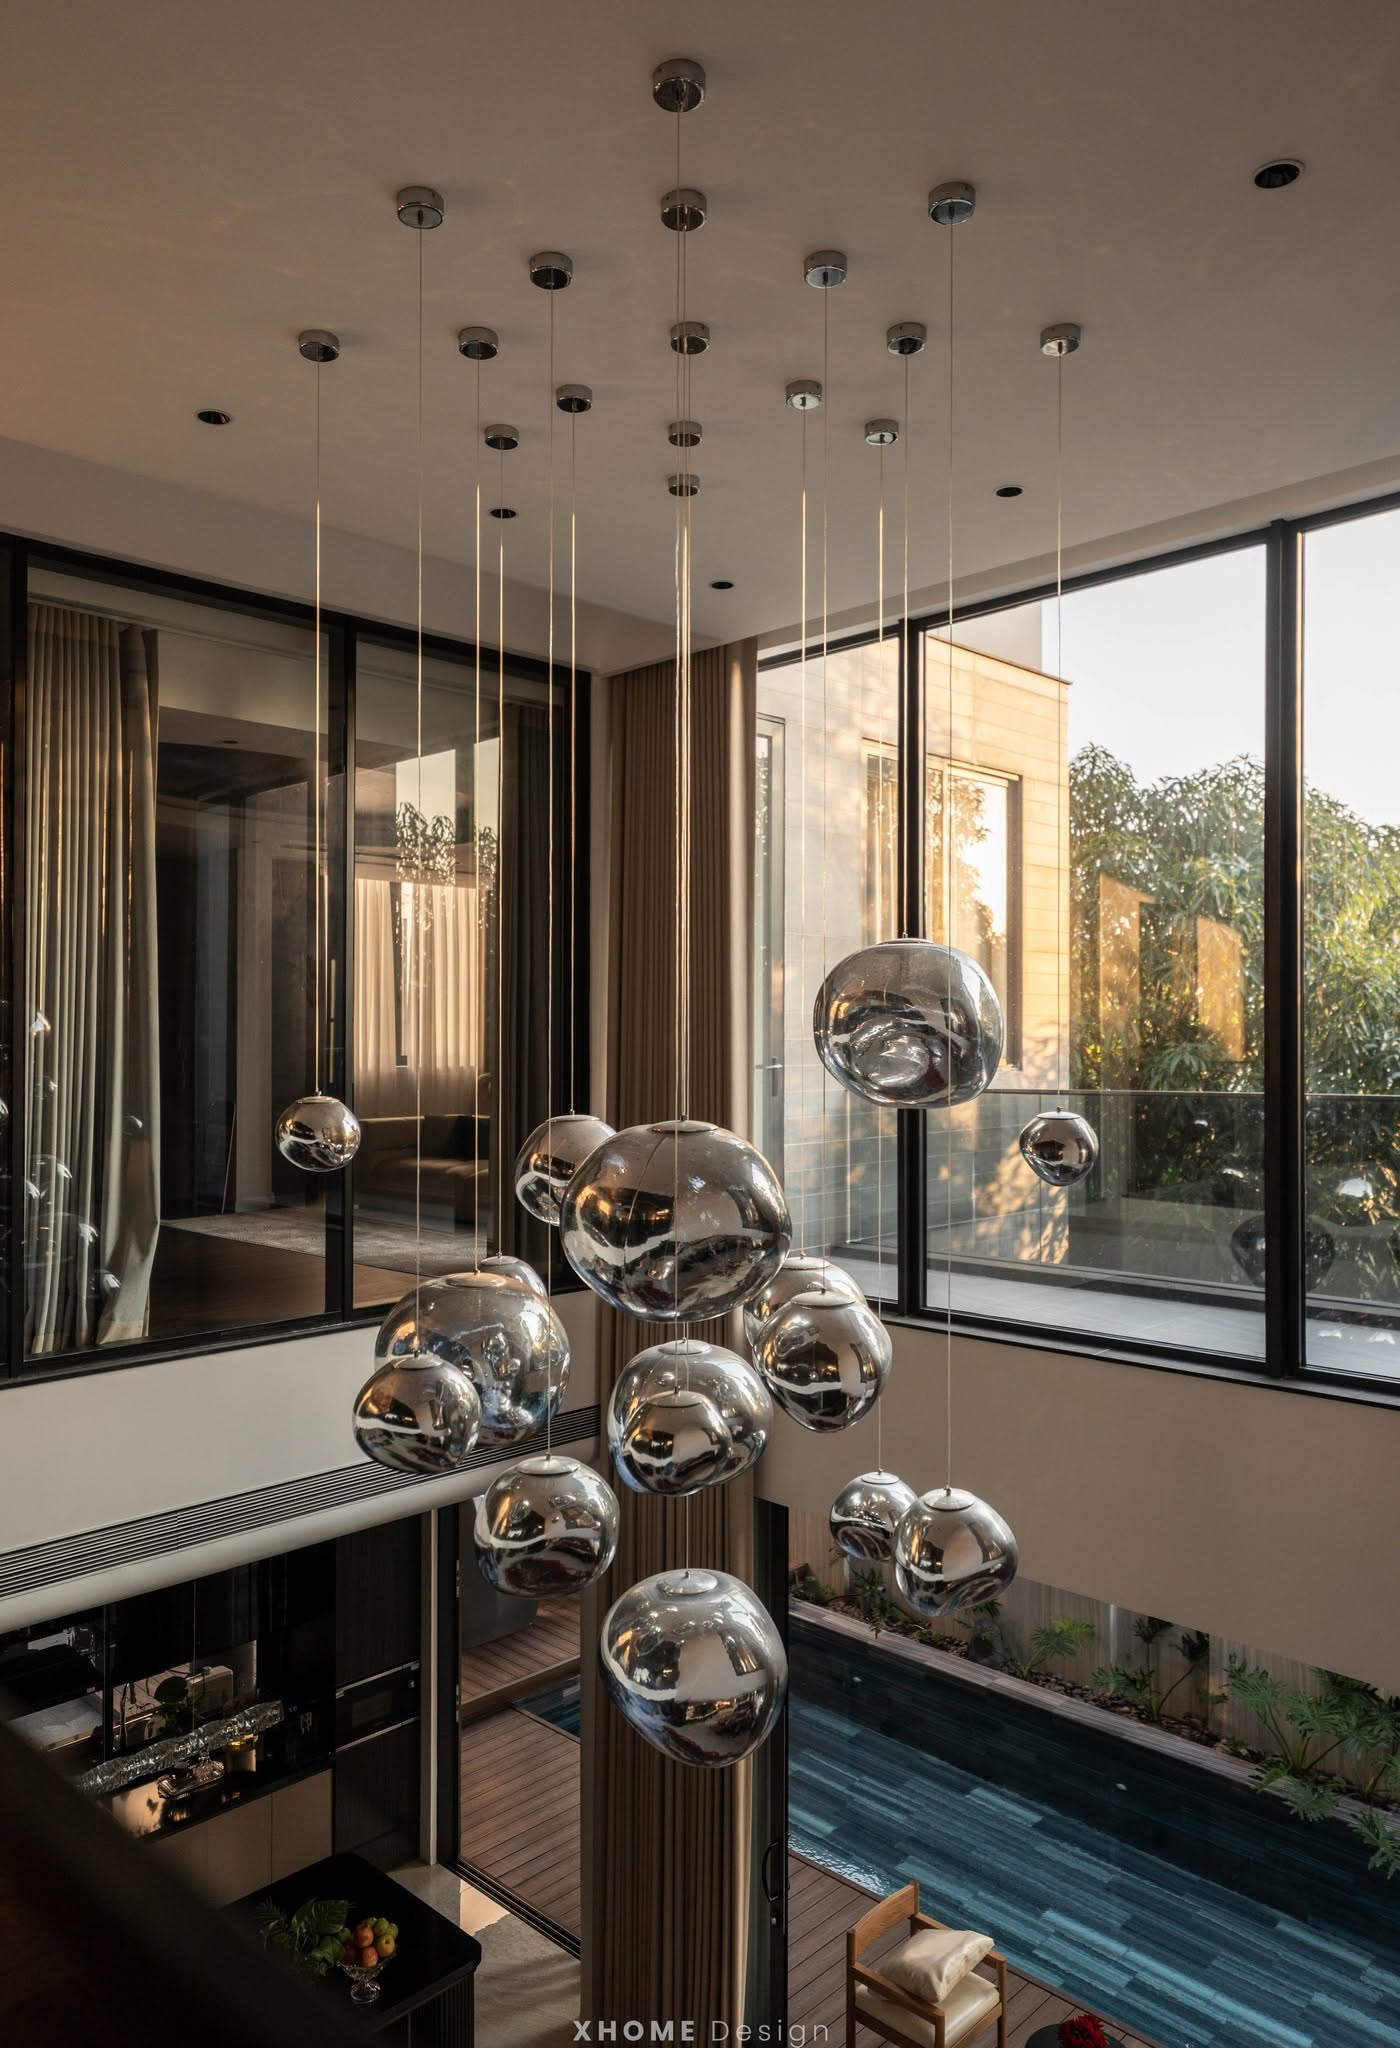
MondayLuxury villas always prioritize the use of high-end, expensive materials such as walnut wood, mahogany, natural marble, or gold-plated details and genuine leather upholstery. These materials require the skill of artisans to handle them. Even a small scratch on a solid stone surface or a mismatched wood grain can ruin the value of an entire space worth billions of dong.
TuesdayThe demands for sophistication and aesthetics in villas are perfect down to the millimeter. Villa owners not only need a place to live, but also a work of art that reflects their status. Technical gaps, grout lines, and material joints must be smooth and flawless. Finally, modern villas always integrate many complex smart technical systems such as Smart Home, central air conditioning (HVAC) systems, air filtration systems, and fresh air supply. Acceptance testing goes beyond aesthetics; it must also ensure the smooth and synchronized operation of the entire electromechanical system.
Acceptance standards for interior materials in villas.
Materials are the soul of an interior space. Checking the quality of materials both before and after completion is a crucial step to ensure the contractor adheres to contractual commitments, preventing material substitution or the use of substandard goods.
Standards for wooden furniture
Wood is the primary material in most villas. For natural wood (such as walnut, oak, and mahogany), the first standard is that it must be of the exact type specified in the contract. You need to check the wood grain to ensure it is uniform and natural. The wood must be properly kiln-dried (moisture content usually below 12%) to absolutely prevent warping, cracking, or insect infestation after a period of use. The PU paint surface must be smooth, glossy or matte depending on the design, feel smooth to the touch, and have no paint drips in hidden corners.
For engineered wood (MDF, HDF with Melamine, Laminate, Veneer, Acrylic coating), the core wood must be from the brand promised (e.g., An Cuong, Ba Thanh). The veneer surface must be seamlessly glued, with a refined wood grain pattern. Pay special attention to the edge banding (edge trim). Edge banding using high-tech machines (such as no-line edge banding) will not leave black glue marks, the edges will not chip, ensuring aesthetics and maximum moisture resistance.
Standards for paving stones and glass
The paving stones used in villas are typically high-end types such as marble, granite, or artificial quartz. During inspection, the actual stone patterns must be compared with the material board. The stone surface must be free of cracks, breaks, and scratches. Especially with porous natural marble, thorough six-sided waterproofing treatment is mandatory before installation to prevent yellowing. The grout lines between two slabs must be sharp, tight, and use a color-matched adhesive to create a seamless look.
For glass materials, all glass used for shower enclosures, railings, and windows must be safety tempered glass, with the glass factory's logo embossed in the corner. The edges of the glass must be polished smooth and not sharp. Kitchen backsplash glass or decorative glass must match the color code and be free from stains or air bubbles within the paint layer.
Standards for upholstery materials (leather, felt) and metal
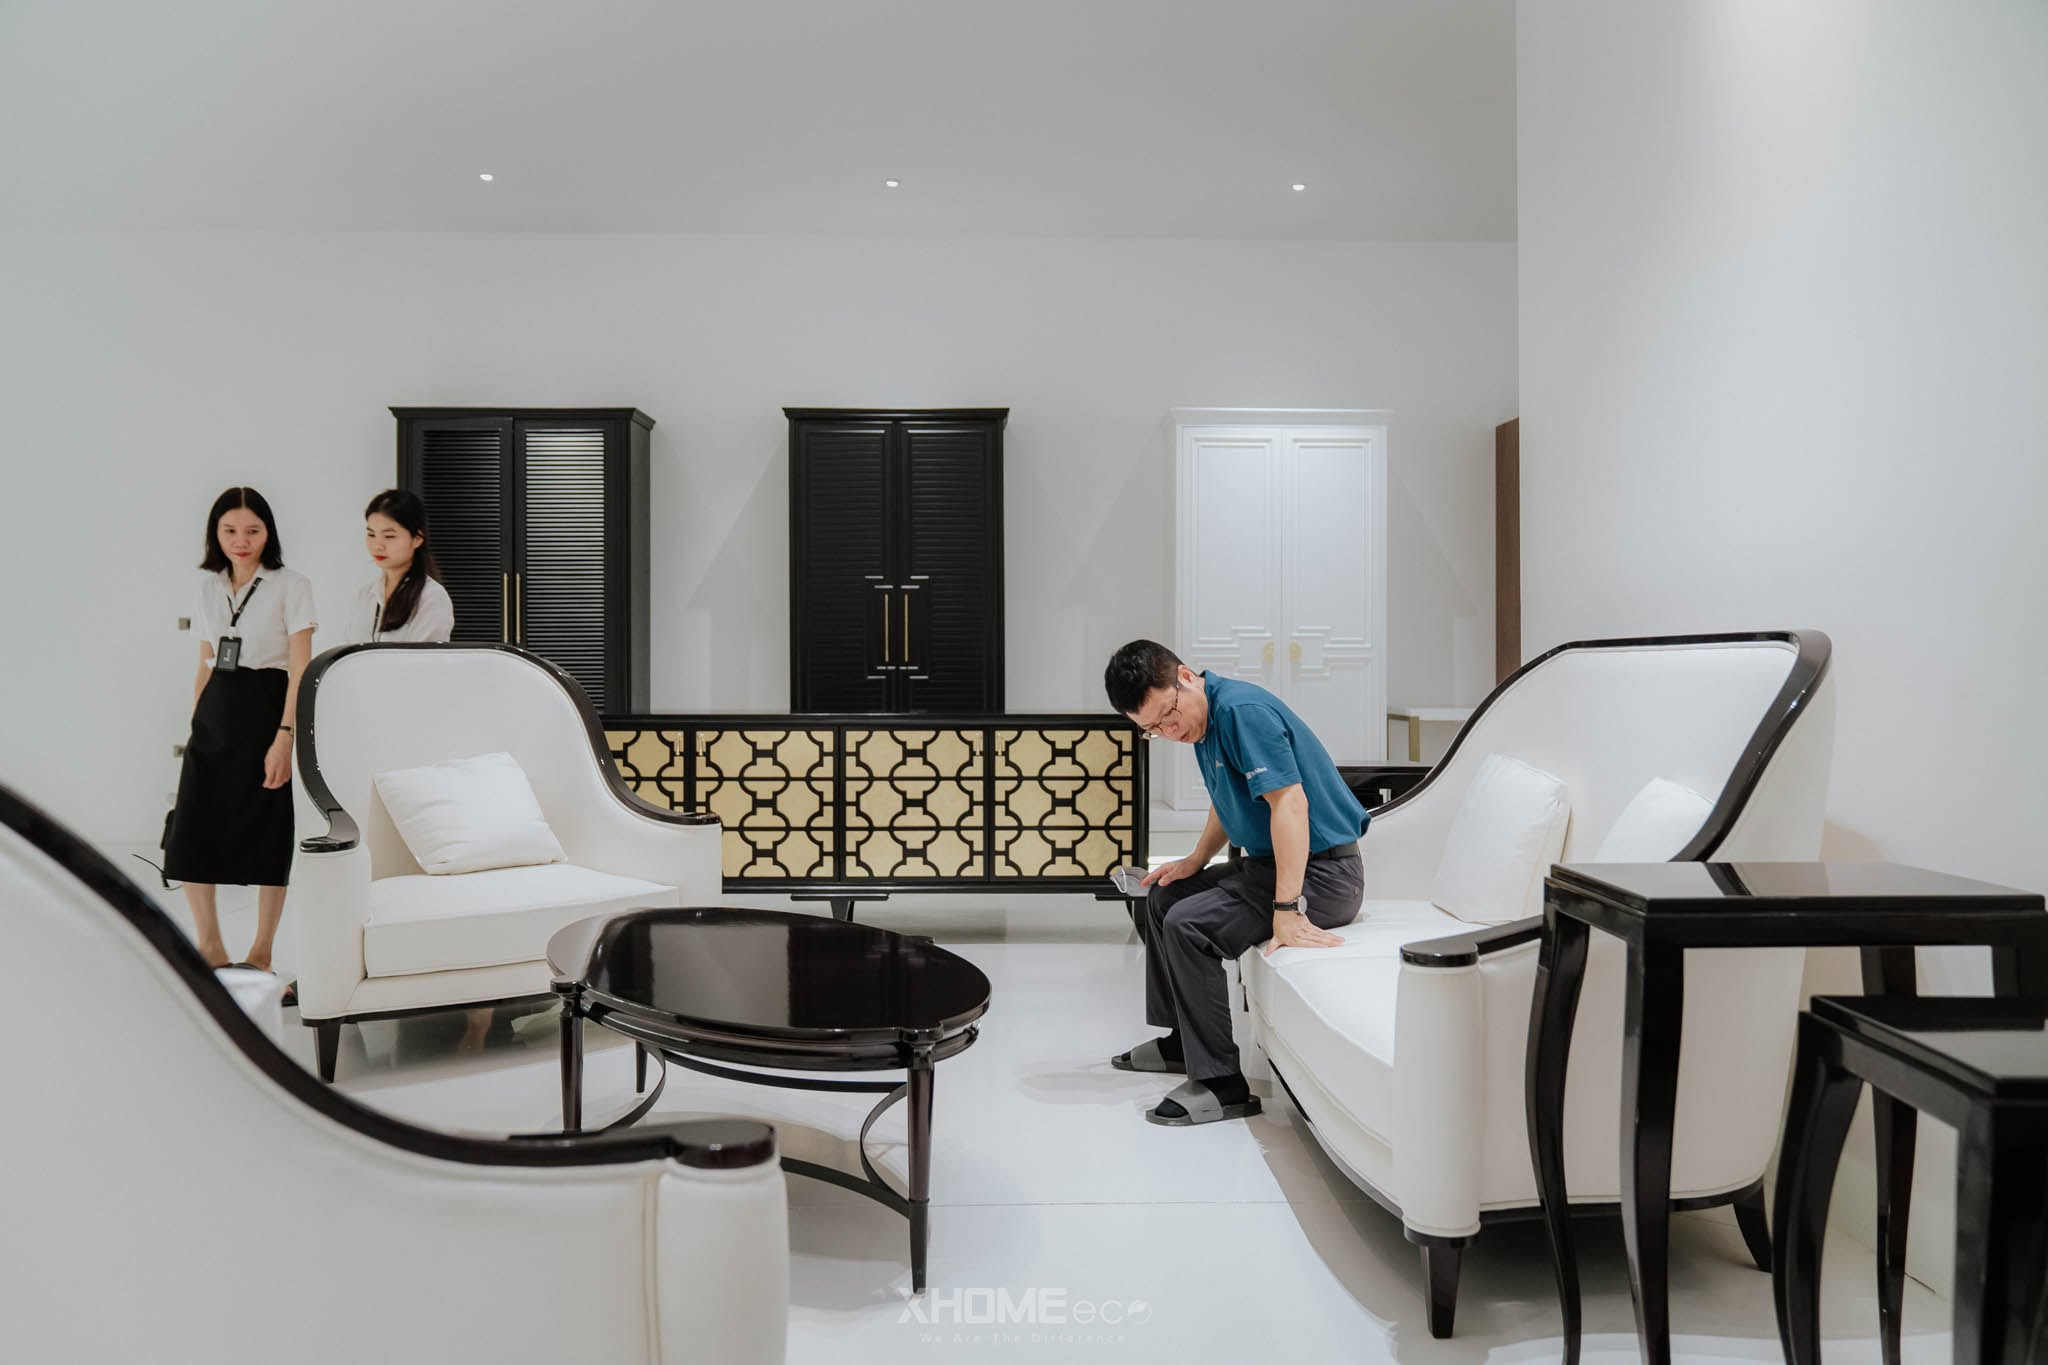
Metal details such as PVD-coated stainless steel (commonly used for decorative trim, table legs, and partitions) must have a uniform shine and the plating color (rose gold, champagne, titanium black) must match the design. Absolutely no scratches, welding marks, or uneven plating color is acceptable. For leather or fabric upholstered furniture (sofas, beds, dining chairs), the upholstery material must match the catalog code. Stitching must be straight, sharp, and free from loose threads. The leather/fabric surface must be taut and smooth, without wrinkles at rounded corners, and the foam padding inside must have good elasticity and not sag abnormally.
Standards for acceptance testing of interior furniture construction and installation.
Once the materials meet the standards, the actual assembly and construction techniques at the site will determine the durability and aesthetics of the interior. This is the stage where homeowners need to scrutinize everything most carefully to detect subtle construction errors.
Check the size and proportions of the shapes.
All furniture items, when placed in a physical space, must strictly adhere to the dimensions and proportions of the 3D design drawings and technical specifications (2D drawings). A floor-to-ceiling wardrobe that is 2cm short of the ceiling will create an unsightly gap and become a breeding ground for dust. The proportions of the compartments, the thickness of the shelves, and the height of the kitchen countertop and sink must meet ergonomic standards and the approved drawings.
Inspect surface finish and technical clearances.
This is where substandard contractors often hide their flaws. You need to use a spirit level or laser to check the flatness, straightness, and perpendicularity of cabinets, wall panels, and drywall ceilings. The surface of the wall panels should not be wavy. The gaps between cabinet doors and drawers must be perfectly even (the standard is usually less than or equal to 2mm). When closed, the cabinet doors should lie on a flat surface, without warping or misalignment.
Pay particular attention to subtle construction errors that are often concealed, such as: hidden gaps on the back of cabinets, unsealed edges or painted under tables, careless use of silicone sealant to cover up large gaps due to incorrect measurements, or uneven paint touch-ups on-site compared to factory paint.
Check the accessories and functionality.
Interior fittings (hinges, drawer slides, handles, lift mechanisms, pistons), though small, determine 80% of the daily user experience. In villas, fittings are often high-end imported products (Blum, Hafele, Hettich). It's crucial to carefully check the embossed logo on the fittings to avoid contractors substituting counterfeit or imitation goods hidden in concealed areas.
Open and close all cabinet doors and drawers repeatedly. The system should operate smoothly, the soft-close mechanism should function properly, and the doors should close slowly without creaking or sticking. The upper kitchen cabinet lift mechanisms must hold the doors at all angles as designed.
Acceptance testing of electrical, plumbing (MEP) and smart home systems in the villa.
The mechanical, electrical, and smart home (MEP) systems are the lifeblood of the villa. Inspecting these systems requires extreme caution because most are concealed within walls and ceilings; any malfunctions would be difficult and costly to repair.
Acceptance testing of lighting and low-voltage electrical systems.
Lighting systems in villas are typically designed in multiple layers (ambient, task, and accent lighting). During inspection, an illuminance meter should be used to ensure the lighting meets standards for each area (for example, a reading room requires higher illuminance than a bedroom). The light color (color temperature 3000K, 4000K) must match the design, and a high color rendering index (CRI) is necessary to accurately reflect interior colors. Lighting scenarios must transition smoothly without flickering.
Electrical outlets and switches must be arranged in a logical and convenient location. Switch faceplates must be installed neatly and flush with the wall surface, with absolutely no gaps or looseness. In-wall wiring must be routed through fire-resistant conduits, with sufficient wire cross-section to handle high-power appliances.
Acceptance testing of sanitary equipment and water supply and drainage systems.
For plumbing systems, safety is paramount. All faucets, sinks, and bathtubs should be flushed continuously for at least 15-30 minutes to check for leaks. Absolutely no leaks are allowed at connections or under-sink siphons. Water pressure must be sufficient, especially on higher floors (check the operation of the booster pump). Floor drains must drain quickly and prevent stagnation. The slope of bathroom and balcony floors must be correct to ensure water flows directly into the floor drain.
Checking the smart home system.
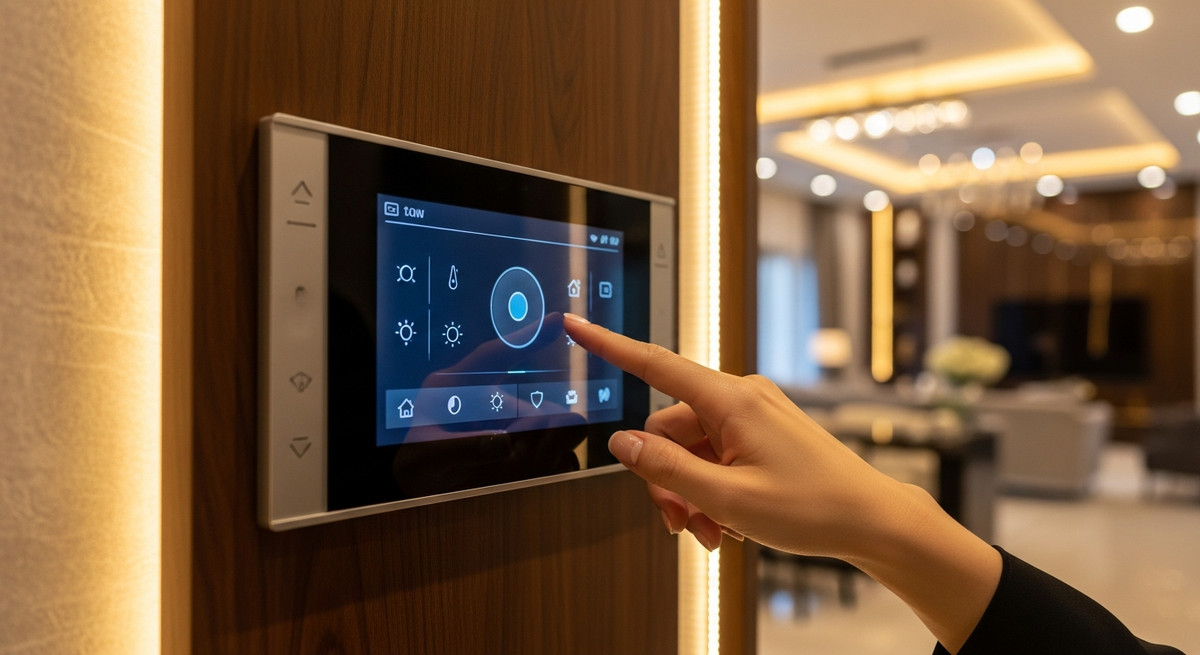
Modern villas often utilize high-end Smart Home standards (such as wired KNX or advanced Zigbee). The acceptance testing process requires checking the stability of the network connection. Testing the response time to commands from the mobile application, wall-mounted touchscreen, and voice control is also crucial. Response speed must be fast, with minimal lag. Pre-set scenarios (such as the "Reception" scenario: curtains open, chandelier lights on, air conditioner set to 24 degrees) must function correctly and synchronously across all devices in the network.
The 5-step process for accurate villa interior design acceptance.
To avoid overlooking any details, homeowners and project managers need to follow a systematic and professional five-step acceptance process.
Step 1: Prepare the documentation, as-built drawings, contract, and material list.
Before the acceptance date, you need to request the contractor to provide complete construction drawings, as-built drawings (if there are any changes), the contract with detailed quotations, and especially the finalized sample material list. This is the legal basis and original standard for comparison with the actual construction.
Step 2: Overall inspection and acceptance of the entire space.
Upon entering the villa, take time to observe the overall design. Assess the colors, lighting, and proportions to see if they align with the 3D rendering. Check the industrial cleaning work, ensuring the site is clean and free of construction debris or dust on the furniture before proceeding with the detailed inspection.
Step 3: Detailed inspection of each item and each room according to the checklist.
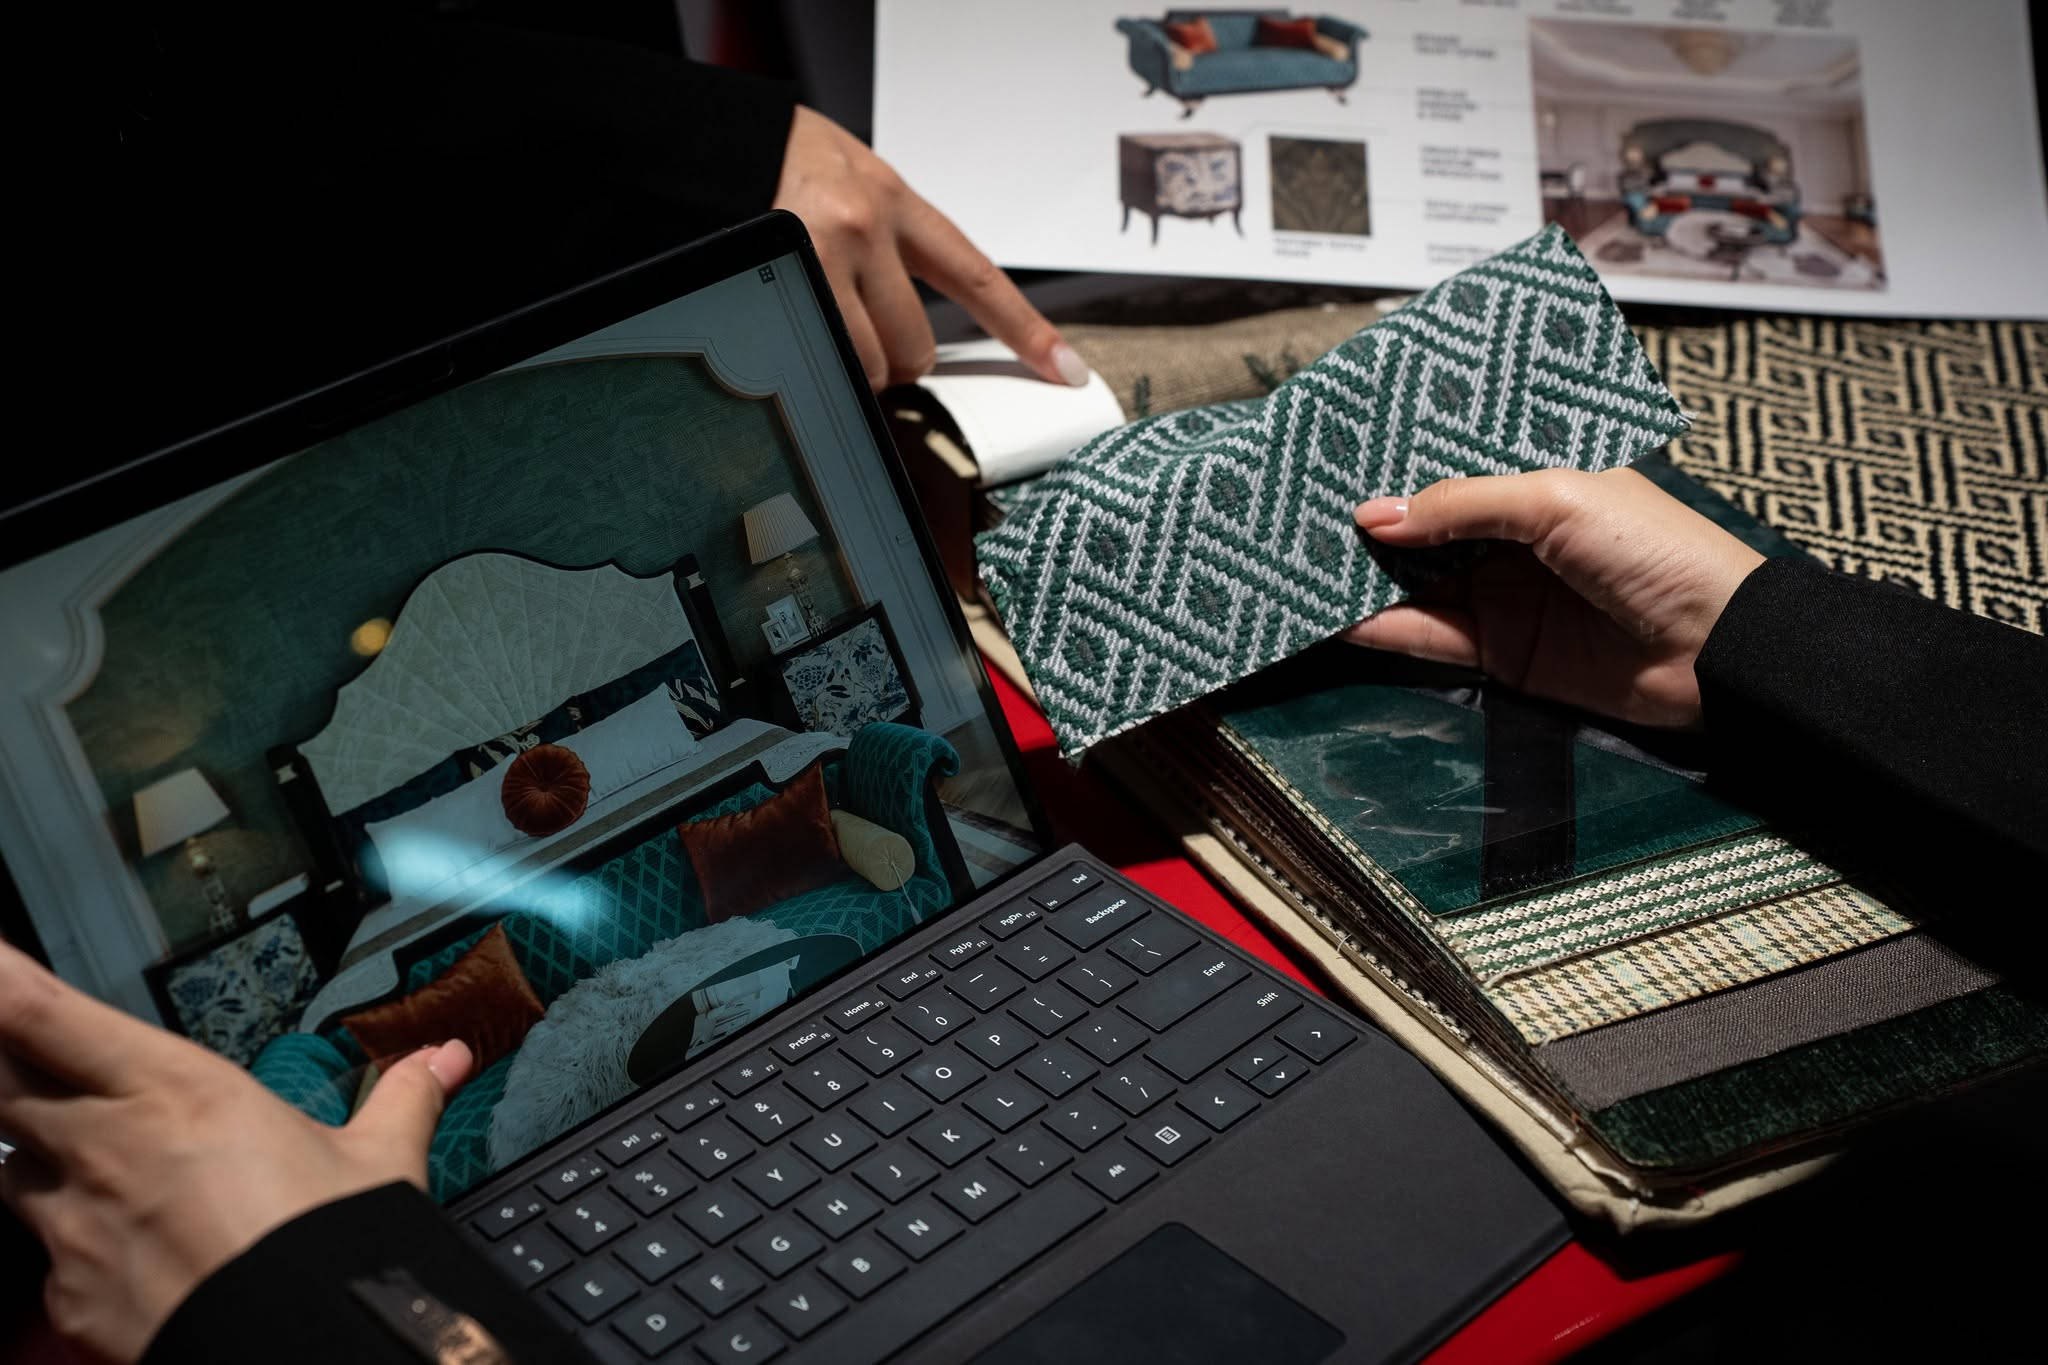
Use the detailed checklist (provided below) to inspect each room: from the living room and kitchen to the bedrooms and bathrooms. Thoroughly check everything from the ceilings, walls, and floors to each piece of freestanding and built-in furniture. Clearly mark what meets and what does not.
Step 4: Test the electrical, water, and mechanical equipment and accessories.
This is a dynamic inspection step. Turn on all electrical appliances, air conditioners, range hoods, and induction cooktops. Flush the entire bathroom system. Open and close all doors and drawers repeatedly. Test the load capacity of bookshelves and wardrobes to see if they sag under pressure.
Step 5: Prepare an acceptance report and a list of defects to be fixed (Defect list).
After the inspection is complete, both parties will draw up an acceptance report. Items that meet the standards will be confirmed. Items that are defective, damaged, or design-incorrect will be noted in detail in the Defect List, along with actual photographs. Both parties will agree on the plan and timeframe for rectification. The homeowner will only sign the final handover report and pay the remaining balance when all defects in the Defect List have been completely resolved.
Checklist for interior design inspection of a villa, categorized by space.
To help investors easily track and self-inspect, below is a checklist summarizing key points for each specific space. You can take a screenshot or print this checklist for direct use at the construction site.
| Space | Hạng mục kiểm tra | Standard achieved | Common errors (Important notes) |
|---|---|---|---|
| Living room | Sofa, armchair | Made with genuine leather/fabric, featuring soft foam padding with just the right amount of cushioning, neat stitching, and a sturdy wooden/metal frame. | The leather is wrinkled at the corners, the foam cushion is flat and lacks elasticity, and the chair legs are wobbly. |
| Living room | TV stand, stone/wood paneling | The countertop is seamless with tight-fitting joints. The TV stand is flat, and the drawers slide smoothly. The TV wiring is neatly concealed. | The wall cladding is wavy, the stone grout is chipped, and there's a messy mess of exposed electrical wires behind the shelves. |
| Living room | Decorative chandeliers | Securely installed in the concrete ceiling, the crystals/lamps are not cracked or broken, and the light is even and flicker-free. | Off-center hanging, lack of crystal detail, incorrect color temperature lighting. |
| Kitchen | Upper/lower kitchen cabinets | The cabinet doors are flat with even gaps (<2mm). The soft-closing hinges work well. The underside of the cabinet is sealed with waterproof edge banding. | The cabinet doors are warped, the accessories are replaced with counterfeit parts, and the underside of the cabinet is not sealed, making it susceptible to moisture absorption. |
| Kitchen | Kitchen countertop, sink | The stone is free of cracks, and the sink/cooktop hole is precisely cut. Waterproof silicone sealant is evenly and neatly applied around the sink and wall edges. | Water leaks under the sink, silicone sealant is smeared, and the countertop is stained due to a lack of waterproofing. |
| Kitchen | Kitchen appliances, range hoods | The induction cooktop and oven are operating at the correct power level. The range hood is quiet, and the exhaust duct is tightly sealed to the outside. | The range hood is making a loud noise due to a dented duct or electrical leakage to the casing. |
| Master Bedroom | Bed | The bed frame is sturdy, and the bed base is flat. It doesn't creak when lying down or turning over. | The bed frame is weak, the headboard upholstery has misaligned patterns, and it's too small for the mattress. |
| Master Bedroom | Wardrobe, dressing table | Smooth-sliding drawers, recessed LED lights that automatically turn on when the doors are opened. Sturdy vanity, mirror that doesn't distort images. | The recessed LED lights are flickering, the drawer slides are squeaky, and the edges of the cabinet are chipped. |
| Master Bedroom | Laminate Flooring | Walking on it is comfortable, silent, and doesn't cause blisters. The baseboard trim fits snugly, with precise 45-degree corner joints. | The floor creaks because the subfloor is uneven, with gaps between the wooden planks. |
| Bathroom | Bathroom vanity, mirror | The cabinets are made of waterproof materials (PVC plastic or melamine-coated plywood). The mirrors have heating functions that work well. | Using ordinary MDF wood for bathroom vanity cabinets (it swells easily), and the edges of the mirror become stained black. |
| Bathroom | Glass shower enclosure | Safety tempered glass, tight-fitting magnetic seals. Absolutely no water leakage from the shower area into the dry area. | The window panes sagged and scraped against the floor, and the rubber seal was broken, causing water to leak out. |
| Bathroom | High-end sanitary equipment | Smart toilet with powerful flush, shower head with precise temperature control. Bright, scratch-resistant chrome/nickel plating. | The toilet button is stuck, the shower head leaks even when turned off, and the plating is scratched due to shoddy installation. |
Frequently Asked Questions During Villa Interior Design Acceptance
During the handover process, developers often encounter several perplexing situations. Below are answers to the most common questions to help you prepare as best as possible.
Who participated in the villa interior design inspection?
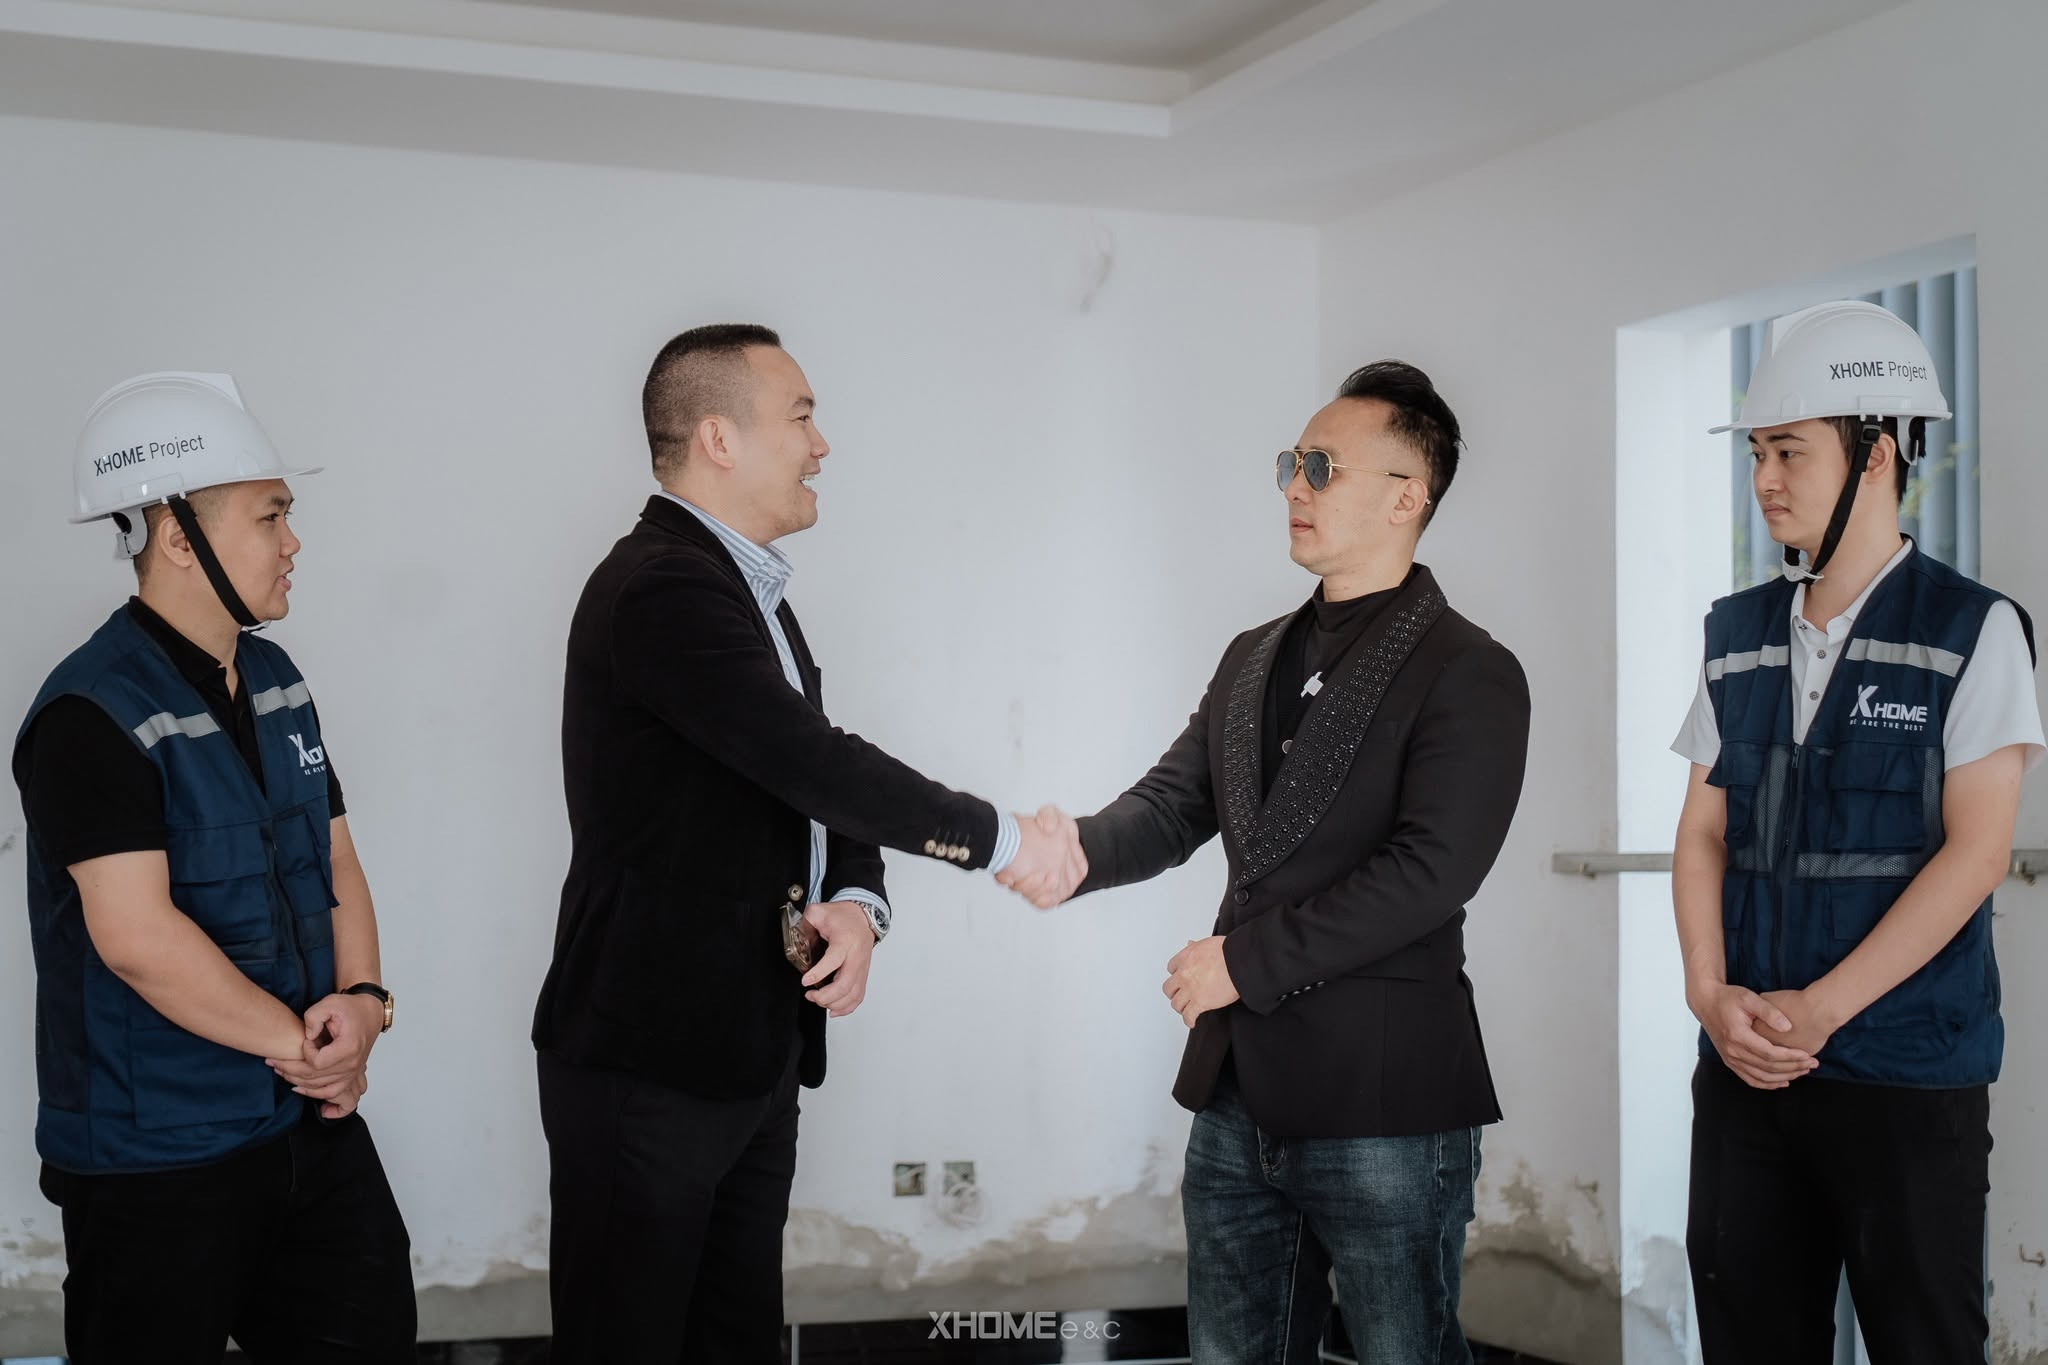
A proper acceptance inspection requires the participation of all relevant parties to ensure objectivity. Mandatory participants include: the homeowner (or their representative), the project manager/manager of the main contractor, and the site supervisor (if the homeowner hires an independent supervision consultant). Additionally, the presence of the design architect is essential to assess whether the finished product accurately reflects the aesthetic vision of the design drawings.
What are the procedures for handling construction defects that do not conform to the blueprints?
When a defect is discovered, absolutely do not compromise and accept a temporary handover. You need to request that the defect be documented in detail in a Defect List, photographed as evidence, and have a representative of the contractor sign to confirm it. Next, both parties agree on a timeframe for rectification (usually 3-7 days depending on the severity). The homeowner has the right to withhold a percentage of the payment corresponding to the defective item until the contractor completes the repairs and conducts a satisfactory re-inspection.
See more: Experience in villa interior design: 5 mistakes to avoid & key considerations.
How long does the warranty period for villa interior design usually last after acceptance?
For high-end villas, warranty periods are typically longer than the standard. Generally, the wood and structural components of the interior are warranted for 12 to 24 months. Electronic, refrigeration, and sanitary equipment are warranted according to the manufacturer's policy (1 to 3 years). In particular, high-end mechanical accessories (such as Blum and Hafele hinges and drawer slides) are often guaranteed by reputable contractors for 5 years to a lifetime. You should request a warranty booklet clearly stating these terms when signing the acceptance report.
Inspecting and approving villa interior design is a task that requires meticulousness, professional knowledge, and patience. The correct application of these principles is crucial. Standards for acceptance testing of villa interior construction A detailed checklist not only helps you own a perfect, high-class living space but also optimizes future maintenance costs. If you don't have much time or lack professional experience, hiring an independent consulting and supervision firm or choosing a general design contractor is a viable option. interior construction Being trustworthy and transparent from the start will be the safest and most effective solution to protect your family's home.
- Email: info@xhomesg.com.vn
- Floor 12.B1 – REE Tower, 9 Doan Van Bo Street – Xom Chieu Ward – Ho Chi Minh City
- Hotline: 0899199786


